Create a model
A model decides the shape of the file you import and the layout of the certified PDF. Before having your first invoice certified, you need one.
Screen names are given in French
The Minlessika interface is available in French and in English. Each tab or button name is shown here as it appears on a French screen, with its English translation in parentheses.
Prerequisites
- The Fiscal invoicing module activated for your organization
- The
SETTINGS.UPDATEpermission
Steps
1. Open the model list
Open Paramètres › Modèles (Settings › Models). The list shows the code, the name and the origin of every model. Those marked Standard belong to the platform: they serve as your base, but you do not change them.
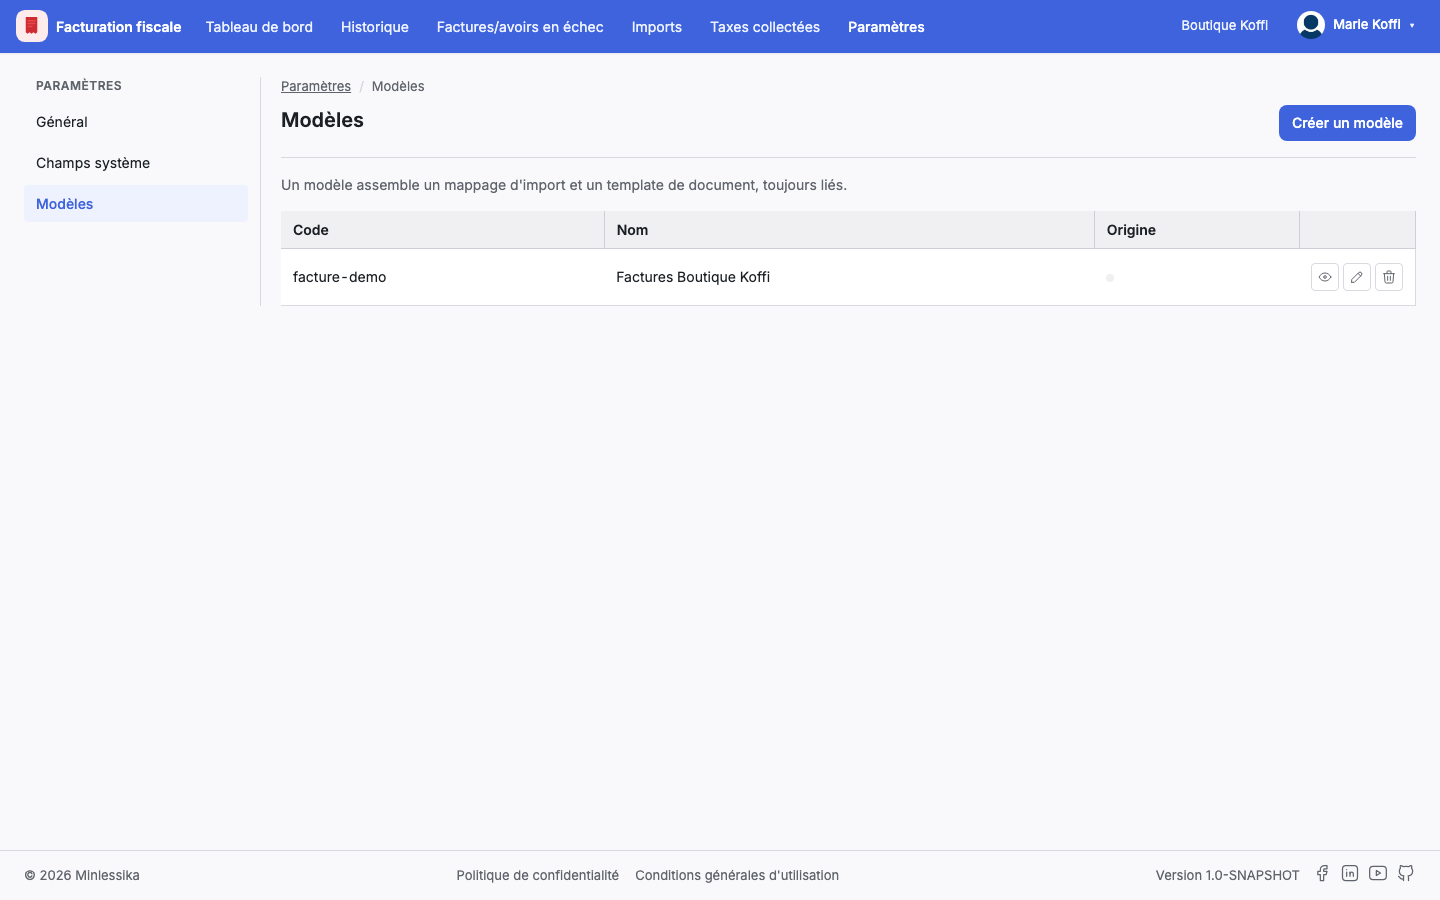
An empty list to begin with
A brand new organization has no model and sees no standard: start from step 3 in that case.
2. Clone a standard model
This is the shortest path, and the one to prefer: the standard already brings the fields and the layout the FNE expects for a given invoicing type.
On the row of the standard model you want, click Cloner (Clone), give the clone a code and a name, then confirm. The clone becomes a model of your organization, fully editable.
3. Or start from an empty model
If no standard fits, click Créer un modèle (Create a model) and fill in:
- the code — a unique and permanent identifier;
- the name;
- the nature — Factures de vente (Sales invoices) or Bordereaux d'achat (Purchase slips). It is permanent: it decides the fields of the model, how imported files are read and where the import goes. The credit note flow is not chosen: it comes with the model, carrying its own fields.
The model is created with the fields a user always adds by hand: you start from a usable base, not a blank page. The full list sits in the reference.
Code and nature cannot be changed
The name can be changed whenever you like. The code and the nature cannot: they are frozen at creation. Check them before confirming.
4. Set up both flows
Open the model. The page shows its identity, then one section per flow: Facture (Invoice) and Avoir (Credit note). Each leads to two screens:
- Mappage d'import (Import mapping) — the columns of the file; see Customize the fields of a model.
- Template — the layout of the PDF; see Design a document template.
The credit note flow names the invoice flow it corrects: a certified credit note therefore carries over the presentation of the invoice it comes from.
5. Get the model files
The Fichiers modèles (Model files) section generates, for each flow, the empty file matching the mapping, in Excel, CSV, XML or JSON, and in the language of your choice.
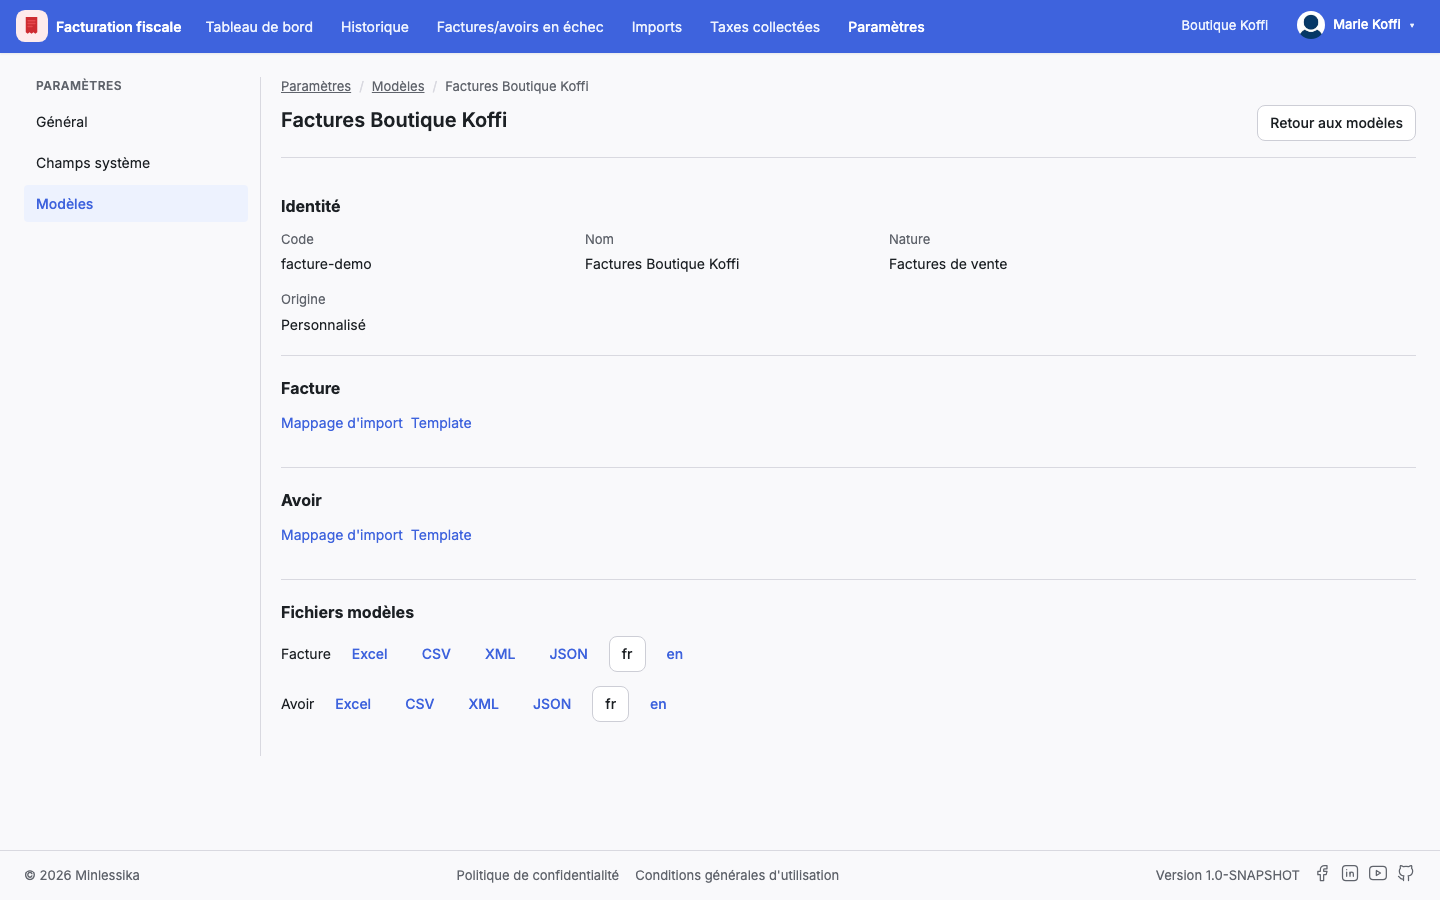
Every file carries an internal marker identifying the model: it is the marker that tells the module how to read your data, whatever name you give the file.
What next?
Changelog
- 1.0 (August 1, 2026): document created.